Configuring Application Settings
The Application Settings tab will be available only to users who are in the ocadm role.
To configure application settings:
Log into the Solution Manager, if not already logged in.
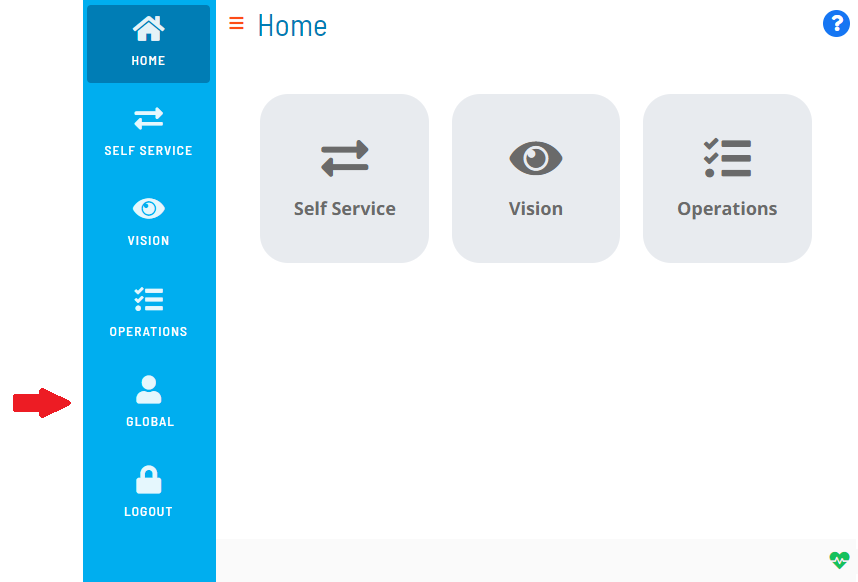
Click on the user profile button located in the Navigation menu, as shown in the graphic.

The Profile page will display.
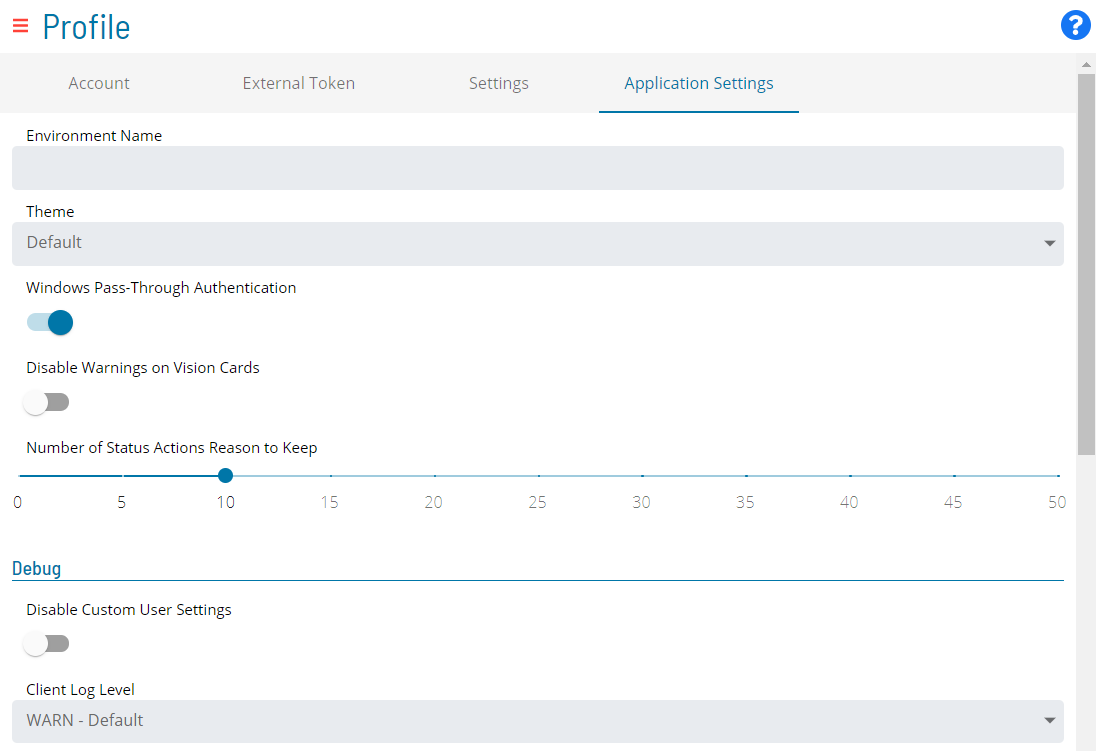
Select the Application Settings tab on the Profile page, as shown in the graphic.

Configure any of the following settings:
- Environment Names
- Themes
- Windows Pass-Through Authentication
- Vision Card Warnings
- Status Actions Reason Caching
- Debug
Click Save to save the changes to the database.
Environment Names
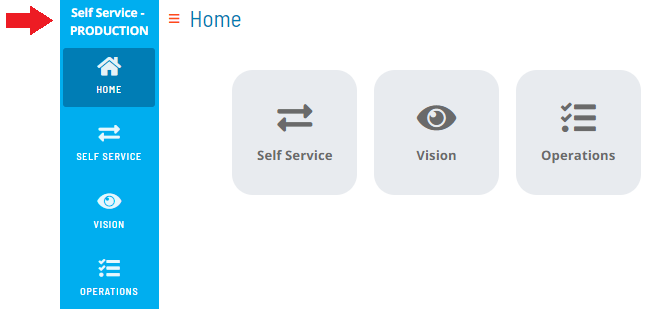
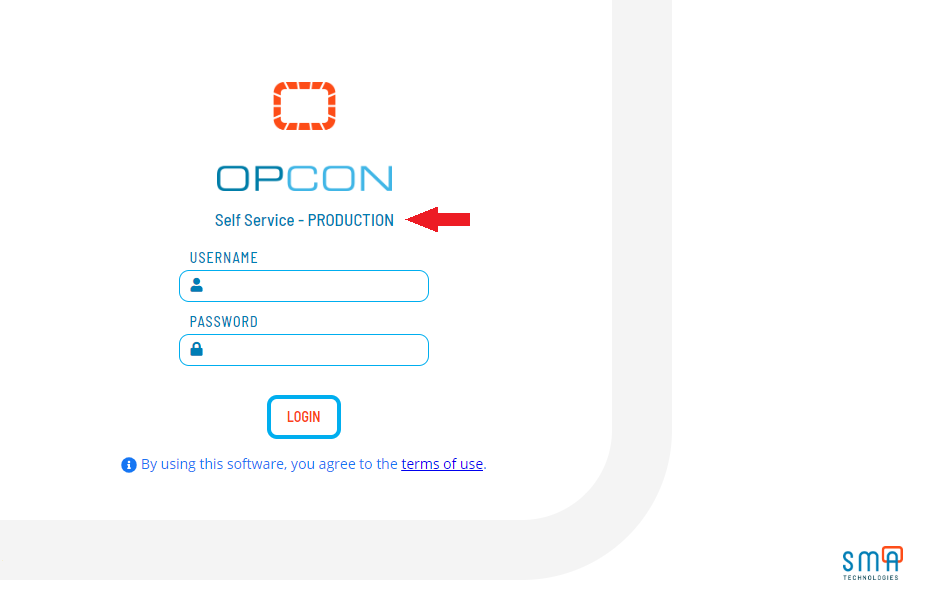
Environment names allow you to label your OpCon environments so that you can easily identity the environments in which you are working. Once defined, the environment name will appear at the top of the Navigation menu in the application and will also appear on the login screen.


Themes
Themes allow you to customize the look and feel (skin) of each of your OpCon environments in order to distinguish them. You can select one of the following predefined themes for your environment:
Default
Blueberry
Melon
Emerald
Ruby
Windows Pass-Through Authentication
This switch allows you to enable/disable Windows Authentication.
Vision Card Warnings
You can set whether or not you want a Vision card to change status (display in a Warning state) if there are jobs in the Cancelled, Skipped, or Missed Start Time status. You can use this switch to disable the Warning state on Vision cards. If you disable the Warning state, then these jobs will be considered finished (and without error or warning).
Status Actions Reason Caching
You can set the number of Status Reasons that are cached and populated in the Change Status Reason drop-down list for Job or Schedule status updates. For example, if you set this option to 10, then the Change Status Reason drop-down list will store the last ten (10) reasons entered for Job or Schedule status updates.
Debug
The Debug section allows you to configure the global debugging in the application. You can configure the following debugging options:
- Disable Custom User Settings: This switch allows you to set whether or not users will be permitted to define custom debug settings. If disabled, debug options will not be displayed to users.
- Client Log Level: This option allows you to write logs to your web browser console. Since client logs are local, they will be lost once the browser is closed.
- Deep Observe: This option enables a Framework event observe.
- Send Trigger: This option allows you to set the trigger for
sending server logs to the API server to be saved in files. There
are three options:
- Disabled: This option disables the trigger.
- Send on Interval and Max Size: This option allows you to set
an interval- or size-driven trigger with these settings:
- Log Level: This option allows you to set the server log level.
- Api: This option, when enabled, logs all the communications (requests and responses) between the Client and Server.
- Interval (s): This option allows you to configure the logs to be sent at a certain time interval (from 0 to 600 seconds).
- Max Size (characters): This option allows you to configure the logs to be sent on the accumulated max character size limit (from 0 to 5000 kilobytes).
- Send on Event: This option allows you to set an event-driven
trigger with these settings:
- Log Level: This option allows you to set the server log level.
- Api: This option, when enabled, logs all the communications (requests and responses) between the Client and Server.
- Trigger Log Level: This option allows you to configure the logs to be sent when an ERROR or WARN occurs.
- Max Size to keep (characters): This options allows you to configure the logs to be sent on the max size to keep limit (from 0 to 5000 kilobytes).
In instances where you are able to reproduce an issue in the application, you can also utilize the InstantLog Mode feature to generate a temporary log file to send to the Support team. For more information about how to activate this feature, refer to InstantLog Mode.