Configuring Settings
To configure user settings:
Log into the Solution Manager, if not already logged in.
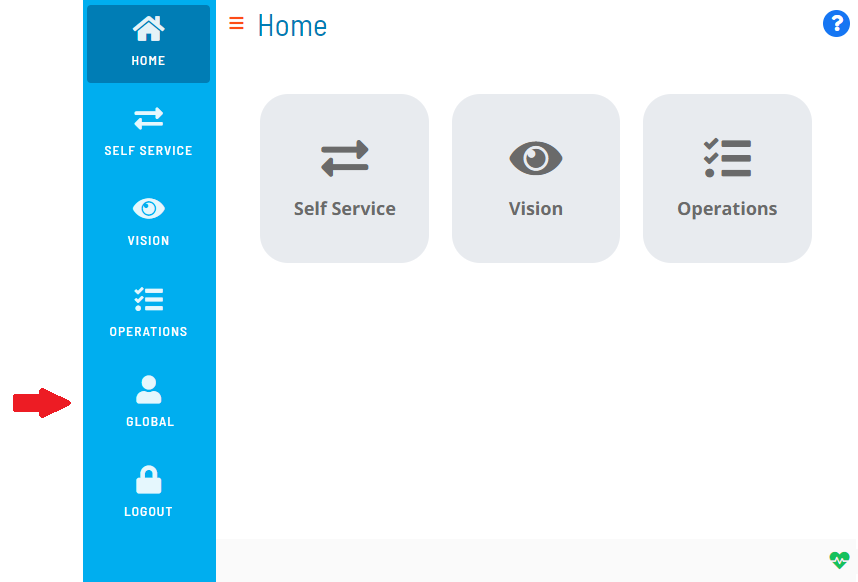
Click on the user profile button located in the Navigation menu, as shown in the graphic.

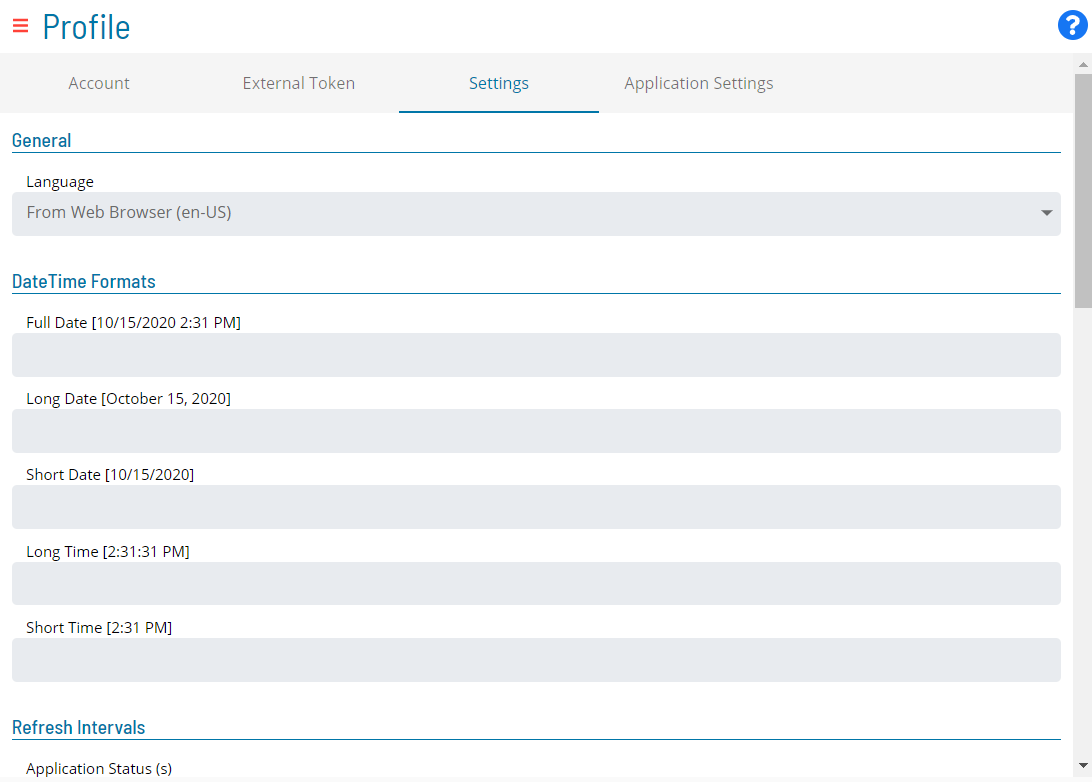
The Profile page will display.
Select the Settings tab on the Profile page, as shown in the graphic.

Configure any of the following types of settings:
Click Save to save the changes to the database.
General
The General section allows you to set the language of the application. Available options are:
- From Web Browser: Instructs the application to inherit the language settings of your web browser.
- EN: Sets the language to English.
- FR: Set the language to French.
DateTime Format
The DateTime section allows you to configure the date and time formats to control the way the Solution Manager displays dates and times throughout the application. You can select a predefined format for the following:
- Full Date
- Long Date
- Short Date
- Long Time
- Short Time
Refresh Intervals
The Refresh Intervals section allows you set the interval (from 0 to 600 seconds) that data is automatically refreshed for services in the application. Refresh intervals can be set for the following services:
- Application Status (s)
- Self Service (s)
- Self Service Execution (s)
- Vision Live (s)
- Operations Summary (s)
- Operations Processes (s)
- Operations Agents (s)
- Operations Graph
- Operations Schedule Build Queue
Debug
The Debug section will only appear if a member of the ocadm role has not disabled your ability to configure custom debug settings.
The Debug section allows you to configure debugging in the application by utilizing the Global Settings switch. If the switch is enabled, then the global debug settings configured by a member of the ocadm role will be applied. If the switch is disabled, then the following options will become available for configuration:
- Client Log Level: This option allows you to write logs to your web browser console. Since client logs are local, they will be lost once the browser is closed.
- Deep Observe: This option enables a Framework event observe.
- Send Trigger: This option allows you to set the trigger for
sending server logs to the API server to be saved in files. There
are three options:
- Disabled: This option disables the trigger.
- Send on Interval and Max Size: This option allows you to set
an interval- or size-driven trigger with these settings:
- Log Level: This option allows you to set the server log level.
- Api: This option, when enabled, logs all the communications (requests and responses) between the Client and Server.
- Interval (s): This option allows you to configure the logs to be sent at a certain time interval (from 0 to 600 seconds).
- Max Size (characters): This option allows you to configure the logs to be sent on the accumulated max character size limit (from 0 to 5000 characters).
- Send on Event: This option allows you to set an event-driven
trigger with these settings:
- Log Level: This option allows you to set the server log level.
- Api: This option, when enabled, logs all the communications (requests and responses) between the Client and Server.
- Trigger Log Level: This option allows you to configure the logs to be sent when an ERROR or WARN occurs.
- Max Size to keep (characters): This options allows you to configure the logs to be sent on the max size to keep limit (from 0 to 5000 kilobytes).
In instances where you are able to reproduce an issue in the application, you can also utilize the InstantLog Mode feature to generate a temporary log file to send to the Support team. For more information about how to activate this feature, refer to InstantLog Mode.