Performing Schedule Status Changes
The Operations module allows you to perform schedule status change using a few simple steps.
To perform schedule status changes:
Click on one of the five operation dials (Failed, Blocked, Waiting, Running, or Completed) or use the Quick Search field (type the keyword and click Enter) in the Schedules section on the Operations Summary page.

The Processes page will display.
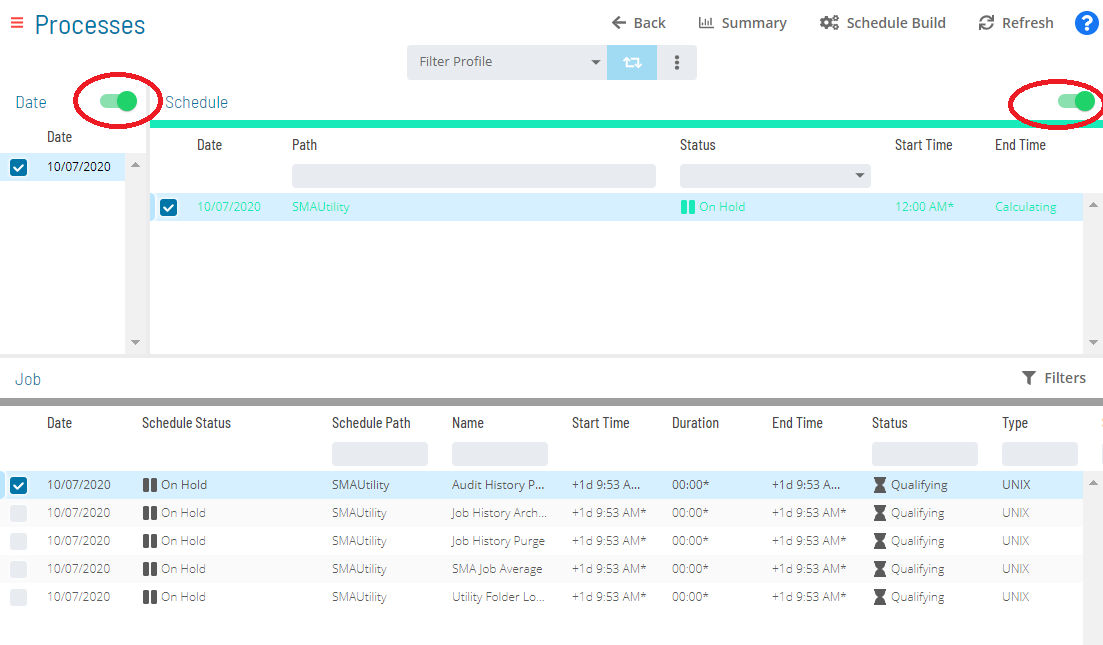
Ensure that both the Date and Schedule toggle switches are enabled so that you can make your date and schedule selections, respectively. Each switch will appear green when enabled.

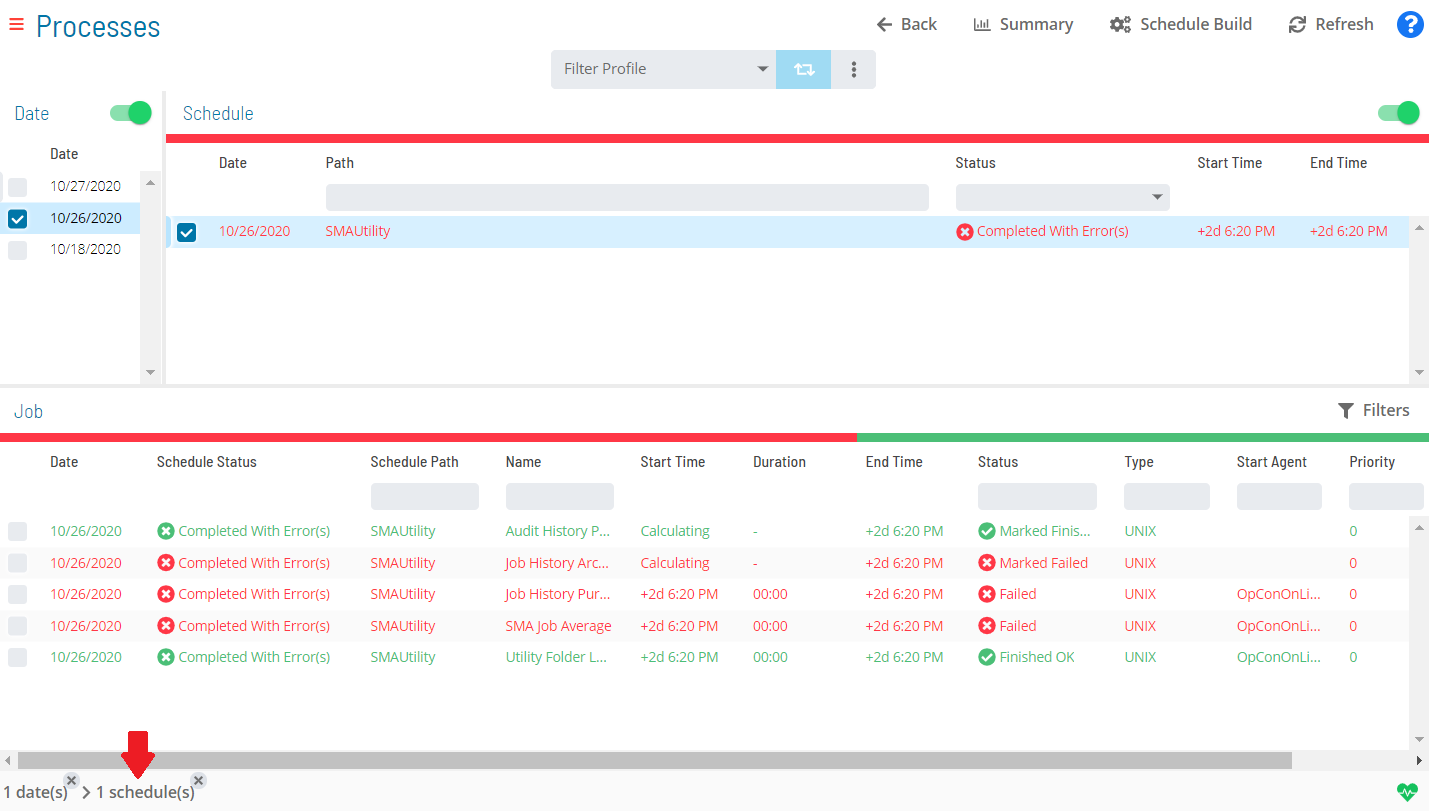
Select the desired date(s) and schedule(s) in each respective list. A record of your selection(s) will display in the status bar at the bottom of the page in the form of a breadcrumb trail.

Depending on the number of schedules returned in general or after making date selections, you may wish to filter and/or sort the list of schedules to make it easier to make your schedule selections.
For filtering, use the Filter Bar just above the list of schedules to filter the list. Type the keyword in the appropriate field and click Enter, and the list will filter accordingly.
For sorting, click on the column heading to sort the column in ascending order (indicated by a small arrow pointing down). Click on the column heading again to sort the column in descending order (indicated by a small arrow pointing up).
Click on the schedule record (e.g., 3 schedule(s)) in the status bar to display the Selection panel with the Schedule Status Update tab in focus.

As an alternative, you can right-click on any schedule selected in the list to display the Selection panel.
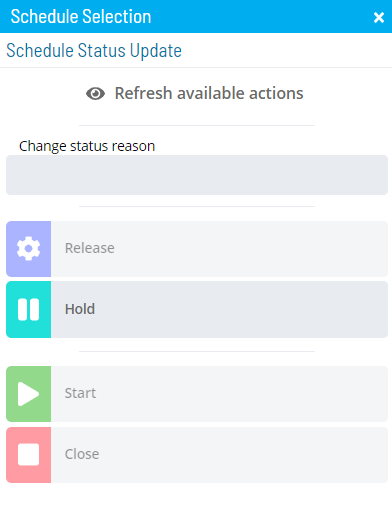
(Optional) Click the Refresh available actions button to verify which status update actions are available for the current selection. This option is particularly helpful when more than one schedule has been selected since all status update buttons are enabled by default.
(Optional) Enter or select a change status reason.
Depending on application configuration, the Change Status Reason drop-down list may store a number of the previous reasons entered for Job or Schedule status updates.
Select one of the following status updates to apply to the selected schedule(s):
Any status updates that are applied to the Schedule Names selected will effect ALL jobs that are scheduled to run on that specific date (as opposed to "just" the ones that are listed within the current scope being viewed).
- Release: This option allows you to release the selected schedule(s) from a Held state. Jobs on the schedule(s) continue processing from the point where they were stopped. If there are subschedules under the defined schedule and they are in a status of Parent Hold, those subschedules will also be released.
- Hold: This option allows you to suspend the processing of the selected schedule(s). All currently running jobs continue to process to completion, but no new jobs on the schedule(s) start. If there are subschedules under the selected schedule and they are in a status of Waiting or In Process, those subschedules are placed in a status of Parent Hold.
- Start: This option allows you to override the selected schedule's start date(s) and time(s), and cause them to run immediately. The SAM begins processing the schedule(s) as soon as this option is selected. If there are subschedules under the defined schedule and they are in a status of Parent Hold, those subschedules will also be started.
- Close: This option allows you to mark the selected schedule(s) as Completed when the schedule(s) are still In Process only because they contain failed jobs.
For more information about job status changes, refer to Schedule and Job Status Change Commands in the Concepts online help.
Close the Selection panel when done.
Related Topics